
MOBOT is your multi-purpose personal mobility tool…..what do we mean by that? It is your:
- Reusable Water Bottle (save the planet from single-use plastic)
- Foam Roller (Myofascial Release Tool - everyBODY needs this)
- Movement Prop (like a yoga block)
- And much more!
Your reusable water bottle
For your body as well as our planet, it’s time to ditch single-use plastic! Carry your MOBOT with you to stay happy, healthy and hydrated.
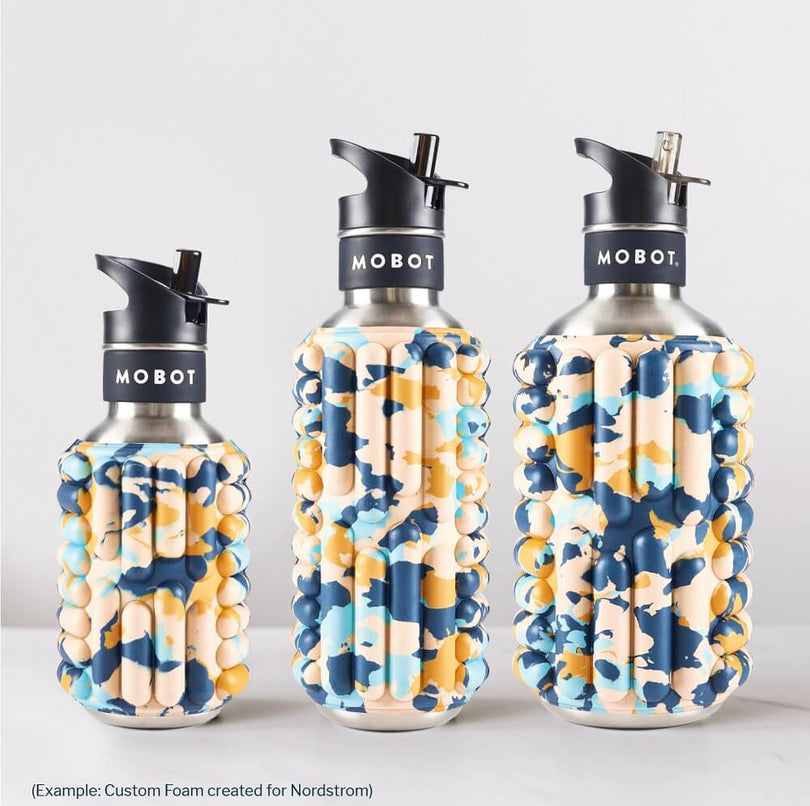
For the average, healthy adult, it’s recommended to drink about ½ your body weight in ounces of water every day (Ie. If you’re 170 lbs, that’s 85 oz of water = 2 x Big Bertha 40oz bottles a day). This is a good starting point for most people, but it’s not perfect for everyone. Find out what works for you - how do you feel when you have more or less water than that? At the end of the day, you know your body better than anyone.
Using the MOBOT as a myofascial release tool:
Foam rolling can help improve your circulation, help decrease delayed onset muscle soreness (DOMS), can temporarily increase range of motion and perceived level of pain. It’s an excellent tool, that is only as good as how often you use it.
To get the most benefit out of it, we recommend:
- You learn how to use it properly (and we don’t mean copying people at the gym) - follow our 3 step guide below
- You use it regularly - “MOBOT is for your body, what meditation is for your mind - a daily practice is essential” - Lani Cooper, creator of MOBOT
- You stay hydrated - your muscles respond better when they are properly hydrated
It’s important to remember we are rolling many kinds of tissues - muscle, fascia, vascular tissue (arteries/veins), nerve tissue, lymphatic tissue, and adipose (fat) tissue. Not all tissues respond well to compression, especially when they are unhealthy and inflamed. For this reason, we need to be mindful of each area we use the MOBOT on for self-myofascial release. For your safety and simplicity of use, we made an easy 1-2-3 step by step process you can apply to each area!
The 1-2-3 guide to get you rolling:
1. Assess!
Lightly, gently and at a moderate to slow pace, roll the area to gauge how “healthy” the tissue is
Good quality tissue can take some pressure and feel no pain. If an area is painful at this step DO NOT proceed to the following steps. Rather continue to improve circulation and tissue quality through other means
2. Drain/Roll the tissue SLOWLY
You want to feel a 6/10 pressure on your MOBOT and roll the desired muscle/muscle group SLOWLY from start point to end point (ie. bottom of the calf to just under the knee)
What do we mean by 6/10 pressure?
- 0/10 = if you’re not feeling it, you either need a more advanced position or the tissue is healthy and proceed to step 3 as needed!
- 6/10 = (or even 7), you’re feeling it (and maybe are making faces), but you’re not in extreme pain
- 10/10 = if you’re experiencing extreme pain and discomfort, dial back to an easier position or stop and move the MOBOT. We don’t want you to be feeling this bad!
What does SLOWLY mean? It’s about 1cm per second!
Found a sensitive/tight spot? Try step 3 as necessary.
Once you’ve gone through your entire targeted area, repeat as necessary or move on to a new area.
3. Trigger point release
Found a sensitive area? We recommend holding this spot and moving in a different direction to contract and release
- Reestablish the right amount of pressure, usually 6/10
- Inhale to a count of 4 while simultaneously contracting the tissue directly underneath the MOBOT
- Exhale for a count of 6 and let the tissues under the MOBOT relax/melt
- Alternatively, slowly move the the area - for example, on your quad, you could windshield wiper the leg or slowly rock side to side rather than up and down
- Any sharp pains, stop immediately
There are 12 main regions you can focus on - you could do a full body roll in one session, or take a few moments throughout your day on a chosen area:
- Feet (bottom of the feet to be specific)
- Calfs
- Hamstrings
- Quads
- Adductors
- Glutes
- lower back
- upper back
- Lats
- Pecs
- Arms
- Neck
Final Tips:
- Roll each desired area for 1-2 minutes or the length of a song at the most
- Sip water (out of the MOBOT!) in between each bout of rolling a target area of tissue
- Make breathing your first priority. Then think of keeping yourself in the most comfortable position, and at the proper amount of pressure, as a secondary thought
- Enjoy the process and make this apart of your lifestyle. Make it a goal to do this process at least once a week as apart of your active recovery day!